Flanges and Logos

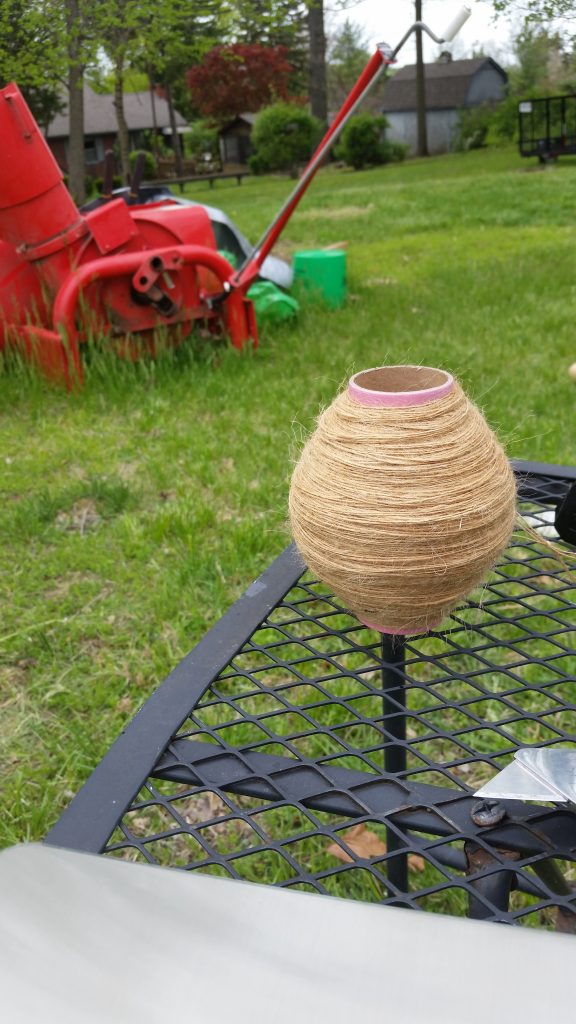
So today I went to the workshop and uncovered the three new molds I poured yesterday. For the most part they turned out well. I cleaned and dried them then prepared to cast new flanges. Using rough math I was able to calculate the approximate volume of each flange to be cast as 1.65oz. I have four moths so that came out to 6.6oz of epoxy that needed to be mixed. I added black pigment to the resin and started to mix. Soon after starting to pour the mixed resin into the molds I realized that the table was not level and the resin was all flowing towards the low end. I finished the pour and repositioned the mold to be level. I used the heat gun to remove as many bubbles as possible.

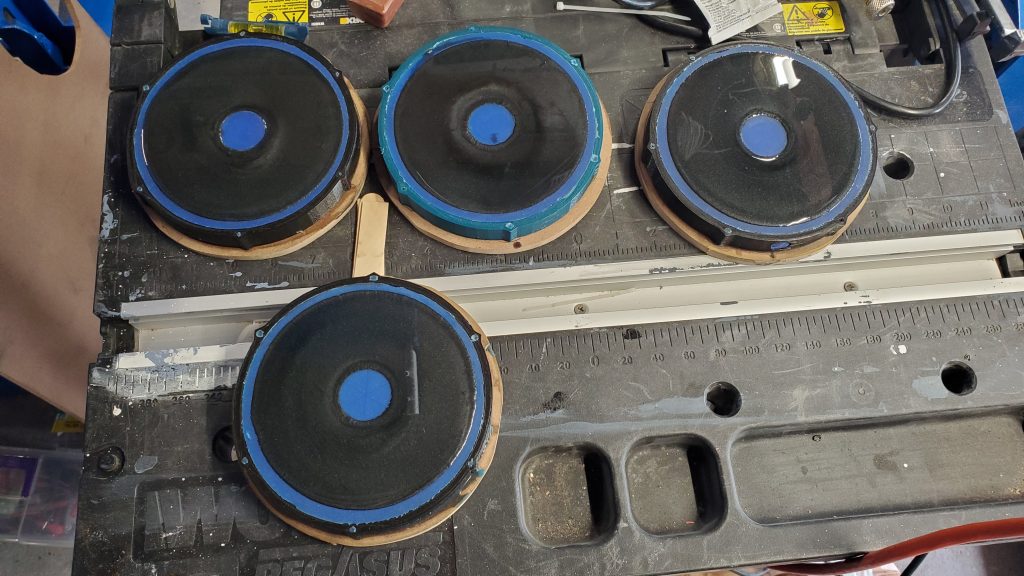
So I had about 2oz of resin left which makes each flange about 1.2oz instead of 1.65. I’ll be able to mix a closer amount next time. It takes 24 hours for the resin to cure so that gives me time to print flanges on the 3D printer.

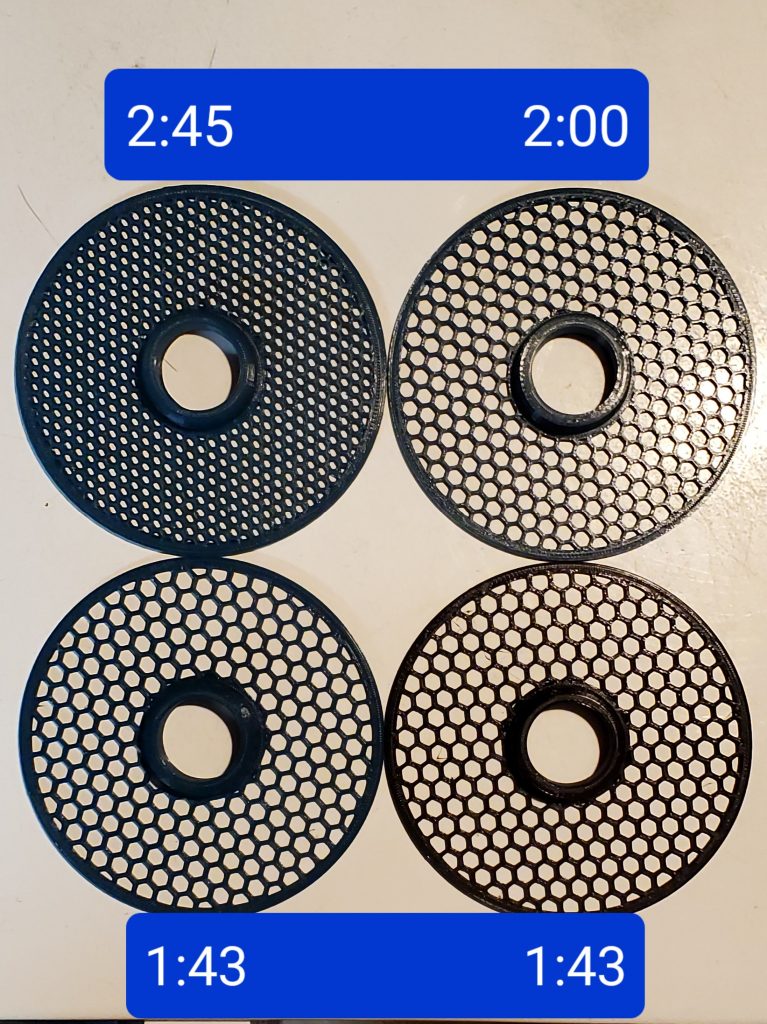
The original solid surface flange I used to make molds out of takes 3:56! That’s fine for casting but I need to speed up the print time so I can get to my goal faster. So I designed a flange that uses an open honeycomb grid on the flat side. It takes 2:45 to print. I redesigned it with larger hexagons and got the print time down to 2:00! With a little more tweaking I got the print time down to 1:43. So my Theoretical printed flange production rate is 13 per day. Of course sleep and work bring that number closer to 5/day. So 5 printed and 4 cast gets me 9 flanges a day so I could have my minimum required flanges in about 6 days.

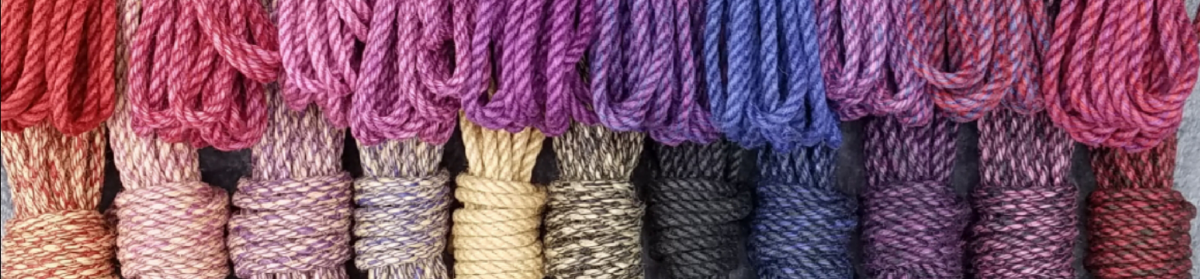
Ever since I started considering using burlap bags as shipping material for rope I’ve wanted to get the company logo on the bag. Today I tried using the laser engraver for that purpose.

So the burlap is just a bit too loosely woven to get all the detail to show but you can definitely identify the logo. Unfortunately the logo isn’t very big and the process takes a long time so I may need to reevaluate that.

Progress

So it seems that most of the printer difficulties are resolved. Was able to print enough flanges and mold rings to end up with 4 molds.

That’s three poured today us the one that was just uncovered today.

With 4 molds I can pour 4 epoxy resin flanges per day. That’ll take 12 days just to get to the bare minimum to run the machine. Unfortunately, it’s has been taking nearly 4 hours to print a flange so not much more productive than casting resin. However, with a few tweaks to the flange design I can reduce the print time to about half. This makes it possible to print multiple flanges per day even if I have to work.

Between casting and printing I should be able to make enough flanges within a week.

Additionally I’ve printed a number of 3D printer upgrades which should help achieve more consistent and higher quality prints which may allow the print speed to be turned up a little.

Yeah, I’ll Just Print That!

So the yarn from the big 5kg spools has to be transferred to smaller spools to run through the rope machine. Mostly this is because the machine can handle 24 spools at a time but 6mm rope requires up to 54 spools. Besides the capacity issues of the machine, 24 full sized spools at 11lbs each is a lot to deal with. So smaller spools will need to be used with multiple threads per spool.

The problem is that the tubes don’t have flanges which limits how much yarn they can hold and creates a situation where the yarn can slip off the spool and get tangled on the spindle. So I need 2 flanges for every spool I use…

So I have a 3D printer that can print prototypes that I can then make molds from so I can cast flanges out of epoxy resin. Well that had a few hiccups. The printer had a few fails before it did a near flawless print of a flange and a frame for the mold…

The next print went more like this.

Then the extruder stopped working entirely. Had to replace the extruder motor and cable. Days wasted trying to fix, troubleshooting, and waiting for a replacement motor…

While waiting I went ahead and put together one form and filled it with silicone to make a reusable mold.

It was a little messier than expected and a lot wasted but overall my volume calculations were correct for the amount of mold maker to mix. Should find out today if I have a new reusable mold or a silicone paperweight.

The First Run!

So I wired up the Generator, Phase Converter, and the Rope Machine and turned everything on but nothing happened! The displays on the control panel came on but the machine didn’t do anything! Like OMG, what’s wrong. Did I wire something wrong? I mean I did move all of the electrical connections for the machine into an electrical box for safety and aesthetics but I took a lot of pictures before I started and the wiring didn’t seem that complex. I messed with the controls a bit but eventually had to call it a day. Nothing like walking away from such a big investment worried that it would never work. I sent a message to the manufacturer asking how to get the machine started but never got a reply. Not exactly great customer service! I mean I asked right after receiving the machine for some type of user guide…

Well, the next time I went to the workshop I inspected all of the wiring connections and the safety switches to see if there was a problem. By chance while trying to test the safety switches I opened and closed a gate and the machine finally came to life! I guess to get things going you have to reset the switches by opening a gate and closing it. I might wire in an interrupt switch to accomplish the same task eventually.

Shortly after I got the machine going the counter module started flickering then stopped working altogether. Well I contacted the manufacturer and they recommended that I open the module and inspect the soldering for the transformer. I did so and reported back that everything appeared to be okay. They then said we need to remove the transformer and test it. Umm, no! I’m not a technician and I’m not going to hire a technician to test a 50ยข transformer in a $25 module. I told them to send a new module! They did and I installed it today!

I also cleaned up the wiring with zip ties, cable wrap, and conduit clamps. All of the cables, cords, and wires are secured and neatly organized now.

All of the components of the machine are functioning now and all of the wiring is complete and well managed. There is an issue with the Phase Converter that is caused by the use of the Generator as the source for power but it is something that can be left as is for the time being.

Now, need to finish spooling a lot more test yarn onto cardboard tubes so I can start making adjustments to the machine so it will produce rope that is identical to what I currently make by hand…